Sunday, 18 May 2014

Gamma Correction

As the film is very dark, it was important to both me and Mikey that the audience could still see and appreciate what was going on within the film. Our main problem was that Mikey was working on a Windows laptop, and I on a Mac...which as it turns out read colours very differently so seeing as I would oversee the Post Production on my machine, I would receive Mikey's shots considerably darker that intended. Therefore I took on the role of Gamma Correcting each shot within the film to achieve some lighter tones in the action- with either the characters or the props. This then returned the shots to how Mikey originally intended for them to be shown. Below is an example of the work produced and a work in progress on shot 10.


Shot 10 as originally lit (lighter on a Windows Computer screen) 


After being Gamma corrected on a Mac Screen. 


The attribute settings to which we used for the majority of the shots. 


Saturday, 17 May 2014

Feedback from Sound Design

Ben has been a constant reminder of why I wanted to work with animation. His artistry is among the best I've seen and is professionalism is second to none. Ben seems very dedicated to his role and has always been willing to help me in anyway possible, even with creative decisions about music. He has a fantastic knowledge of the industry too. This has been helpful in my work and invaluable to the project. I would not hesitate to work with Ben again, and enjoyed working amongst his team, in which he conducted in a calm and proffessional manner. I have thouroughly enjoyed this project and a large portion of this is down to Ben, his work and our working relationship. James Stevenson Composer.


Feedback: Through the length of this project, working on the sound effects for the animation ‘As Thick As Thieves’ for lead animator Ben Hudson, the working relationship has worked well. The communication between Ben and my sound project team has had no problems, in the fact that whenever I had a question or wanted to arrange a meeting, he was available and answered swiftly. Also the freedom in creativity towards the sound effects that was given to me allowed me to be creative and at the same time stick to the aims he gave me. When it got closer to deadlines, Ben did his best to provide the relevant visuals needed for the final project. Overall, I have enjoyed my time working with Ben and he is a good project team leader.

Sam Munson
Sound Effects Designer.

Wednesday, 14 May 2014

Faking Diamond Caustics in After Effects

After consulting Mikey on the technical aspects of the diamond shader and trying to find a plausible way to apply caustics to the diamond shots in Maya - which physically through Maya will take considerable time when rendering, we figured that the best thing we can do is actually fake the impression of the caustics through the use of After Effects. Below is a series of screenshots to demonstrate the process I personally undertook to do so.


Through Maya, Mikey rendered 3 separate plates to composite on top of one another, the illuminate backplate, the diamond and the vault door animation sequence. These are then imported into After Effects in their sequences, and layered up to create the shot. We then have a composition that looks like this... 


I then layered up the shot utilising a mixture of Lens Flares from the Videocopilot Plug In for creating illuminating camera flares and also the use of After effects's default effect CC Light Rays, which is a handy tool that emits photons of light from any illuminated section of imagery within the composition. This can then be parented to only work with certain assets and therefore can be manipulated as desired. Mixing these two assets together, and layering them up on various adjustment layers, we begin to get a desired result: 


Until we have the desired look...and we've faked the illusion of Caustics and light rays emitting from a very shiny jewel. 


This was then implemented into the following two shots of the diamond. 


Monday, 12 May 2014

Diamond Reveal Animation


This is a really special shot. It's the "ALL" grand reveal of the story, and we wanted a nice piece of animation to compliment that idea. When animating this, I added several deformers to the vault door, to really try and push the geometry of the vault door to warp and twist in the fashion of a tex avery cartoon to really push physically what we could do to simply spice up the shot - add that extra degree of excitement and energy to the piece. The timing of the snap works well, and overall after consulting my tutors on the flow, and it's piece within the story, I feel it has worked tremendously within the film. I now look forward to seeing what will be done as we take this shot further into the Lighting and Rendering stage.


Saturday, 10 May 2014

Credits Sequence

As I had completed my section of the animation, and i was waiting for rendering to take place, before i could begin compositing, I decided to piece together a short but sweet little after effects credit sequence together for the film. Nothing that would hinder the overall film too much, but just something a little visually poppy that would compliment the film - using the blue colour palette we already have co-existing within the world we have created, and almost delving beyond the film to show what may have happened just before the credits began to roll. 

The use of design is only recycled pieces of imagery from the pre-production stage, that is a mixture of things we used, and designs I just threw together to just get a feel for what I was doing. It was very fun to revisit this stuff, I'm certainly glad I kept hold of it a little while longer! 


Tuesday, 6 May 2014

Shot 4 - Explosion and Character Reveal


I only did the animation with the characters within this shot, and guided Alice through the production process of using dynamics to blow up the wall in Maya. The rest is Michael MacFadyen. 

Within the animation, we stumbled upon a little bit of a technical issue. In order to have the characters walk through some fog and into the foreground - this would have meant we would have had to either fake the look, which would have hindered the shot by fading the characters in via post production transition, or we would have had to import a fog set-up in which would have increased our render time immensely. We wished to keep the film as render-friendly as possible and so, instead of having the characters walk in, I decided to time it all out to the same specs as the animatic, but have them pop up. Not only do I feel that this is as goofy and in line with the rest of the film, but it also allows Mikey to further import this back plate light behind the wall explosion set-up to illuminate the shot, and keep the render time low. 

Below is a screenshot of the completed render. 


Wednesday, 16 April 2014

Animation

Whilst Harley is Animating his portion of shots for the film, below is an update of my progress.


On the Jackhammer Gag, I consulted one of our tutors over the Easter period and she gave me a couple of pointers on the body posing - and perhaps having more unstable feet, emphasising his stability with the powerful tool. 


I enlisted the help of second year - Patrick Collins to assist me with the Chainsaw Gag. I felt a little less confident of how to approach this shot. We always had a clear vision of how we wished for it to play out, chainsaw cutting a hole in the ground - man falls through, chainsaw follows -  but we wanted to inject a real opportunity for some flavour - lovely arcs, and a more expanded sense of performance, and credit to Patrick he especially opened my eyes to this. He blocked out the initial shot, and how the man could really be pushed proportionally (breaking the rig once or twice in the process) but he had a bit of fun piecing that together and figuring that out and i'm massively thankful. When it came to it however, some issues with timing followed. The man didn't spin around fast enough at all, and so i took it upon myself to just alter the timing of the performance, however this took up some of my own time and drained me of other duties to the film, so I handed the shot over to Harley further down the line to just complete. And he has done so. So with 3 animators tackling the shot, combining our knowledge and what we thought we could bring to the shot, we have brought it to life.

(See Patricks blog/show reel for Poses and thumb nails)


Above is Patricks Blocked out shot in Stepped preview mode. Which basically means the shot is not inbetweened, so the inbetweens had arms and legs flapping all over the place. 

Below is a refined version that Harley and I worked on. 


From here on, it will be Alice's role to cut a hole in the ground for the man to fall through. 


Wednesday, 9 April 2014

Shot 28

As I was Animating this shot when the Alarms catch out the characters, I needed a little bit of help on how to really approach catching them out.

Firstly a friend of mine helped me shoot some reference footage to really capture the accuracy in anatomy when approaching it, really replicating how real bones and muscles would coincide with one another during such an erratic piece of performance from a Monkey. But seeing as we couldn't get a monkey, a human was close enough.


After consulting a tutor on how to take it further, it was suggested to me, to make the animation Pop in 1 frame - The Arms up, curl up the anticipation just a ‘wee’ bit more, then when the arms reach the top, let them stretch up further, really throwing the arms up really far, then let the monkey come back down into a more comfortable position. 

 - If 1 frame is the difference between curl & pop, then anticipate it more, and have the drag and the overlap more apparent between the arms and the body, so have the arms flap up after the body, so that the power comes from the hips. 


Friday, 4 April 2014

Shot 8


I did the animation on Shot 8, when the two characters have reached the bank vault door - leading into the next act of the film. I discreetly decided to have the monkey scratching his behind purely for comedic value to just build on top of what we have already done.

Monday, 24 March 2014

Character UV Map's Applied to Models

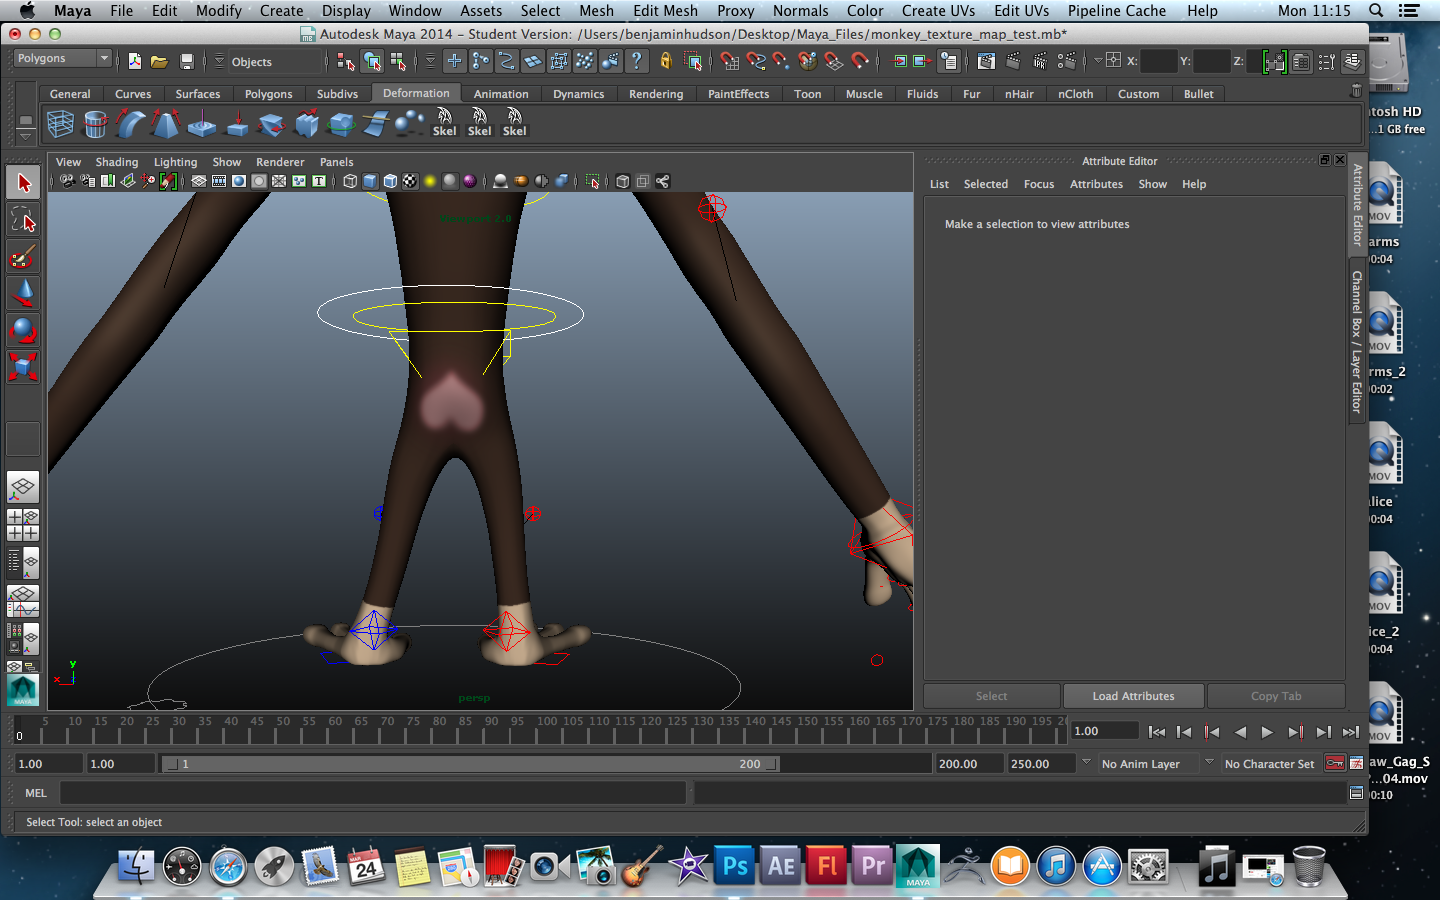
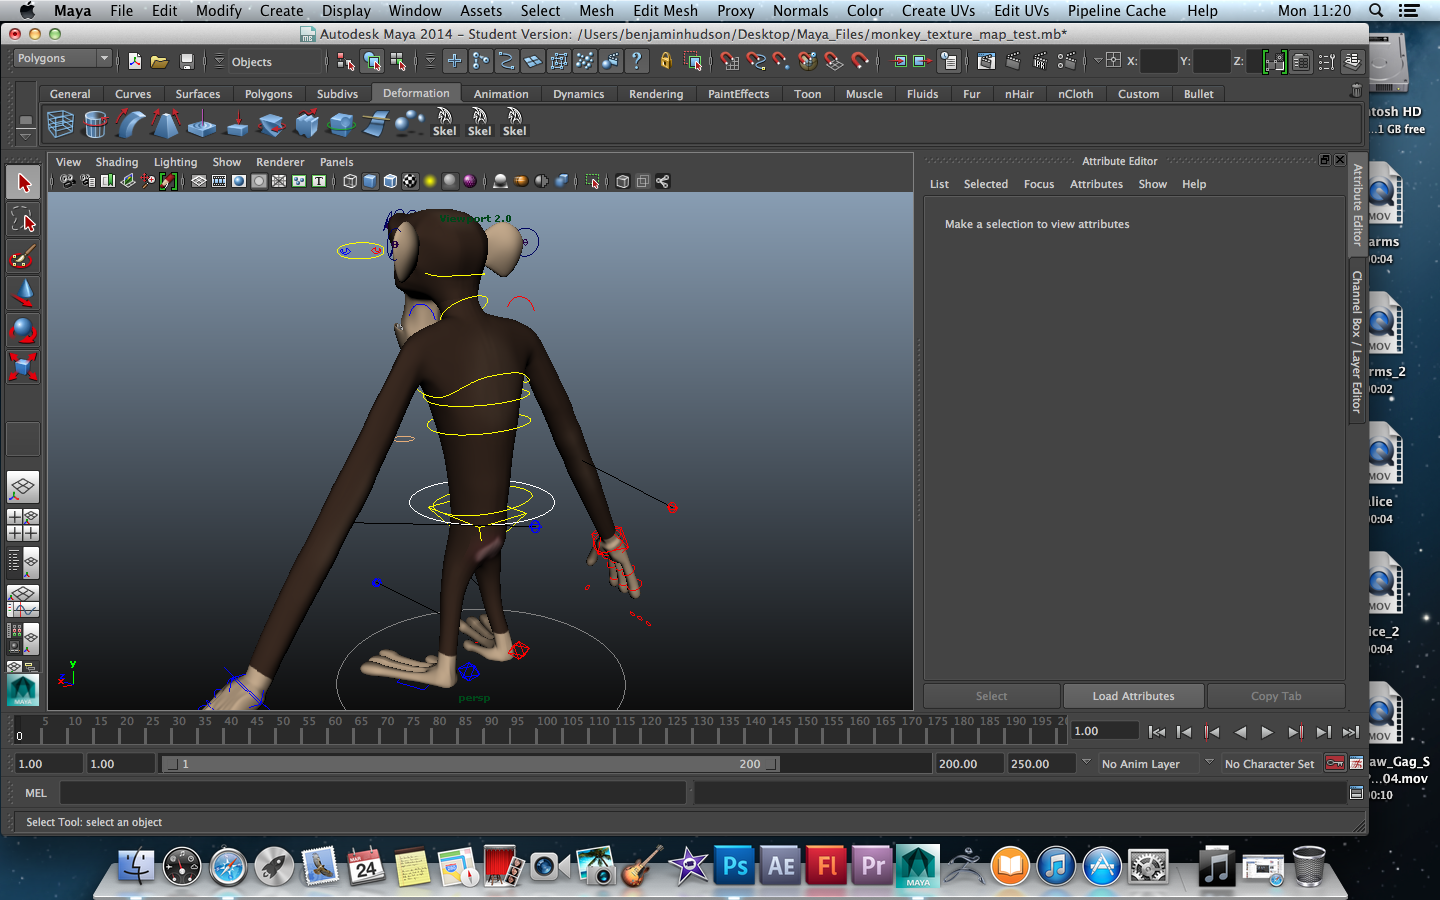
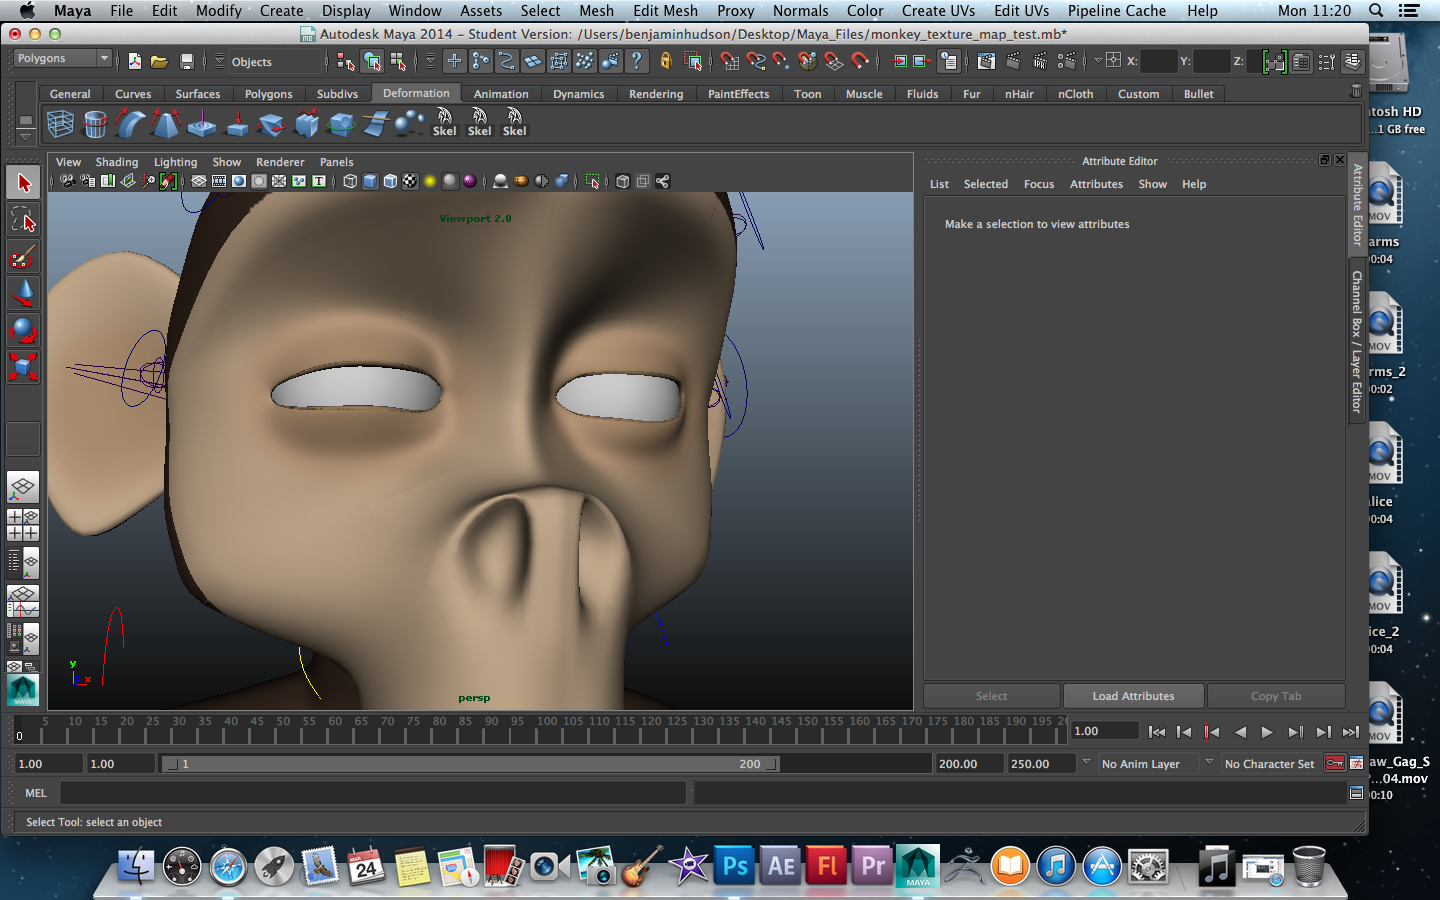
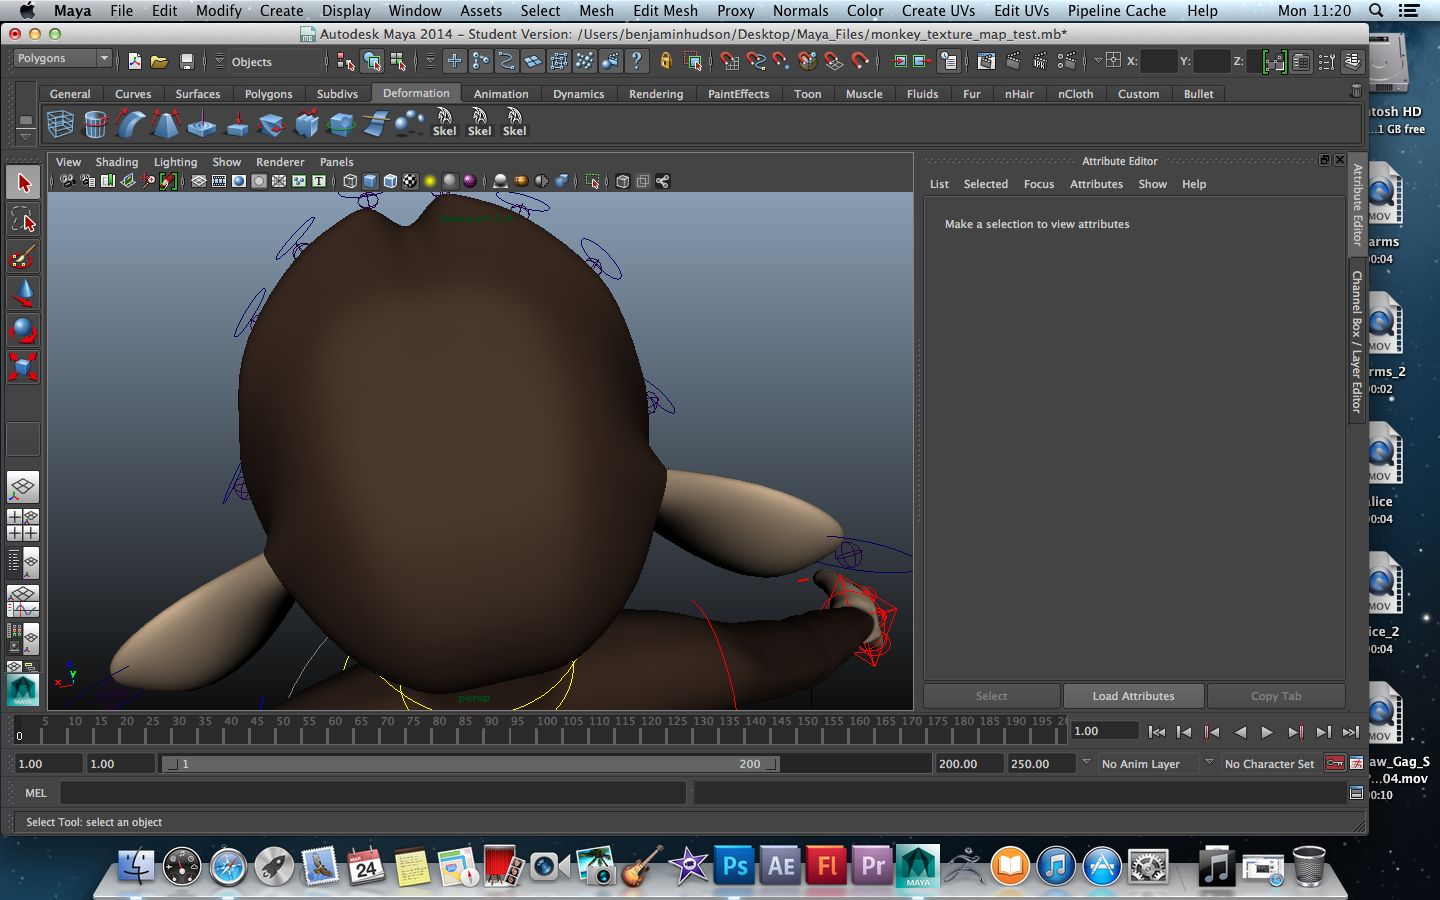
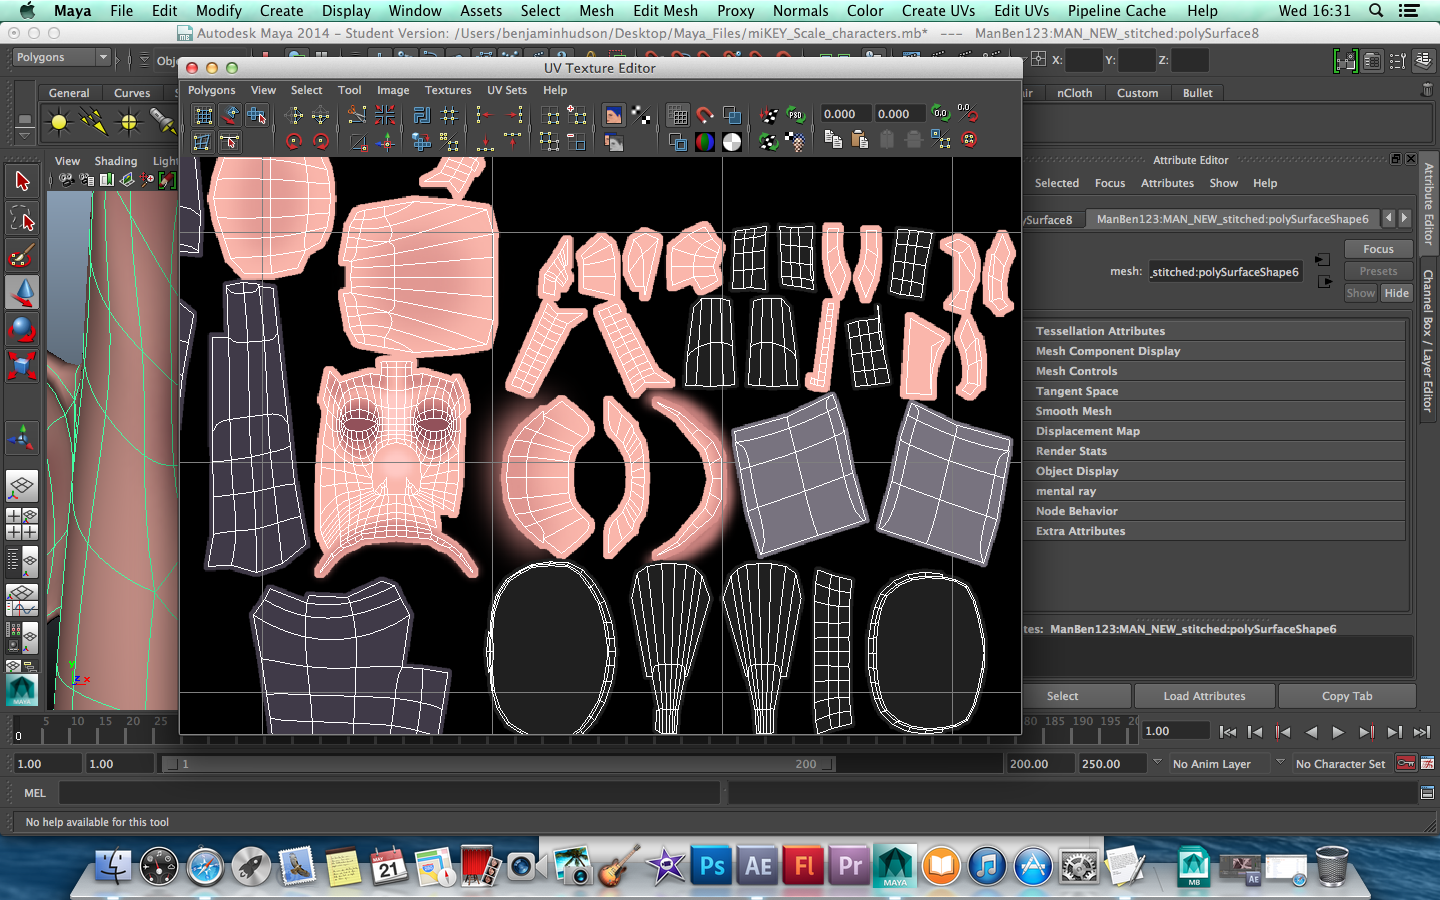
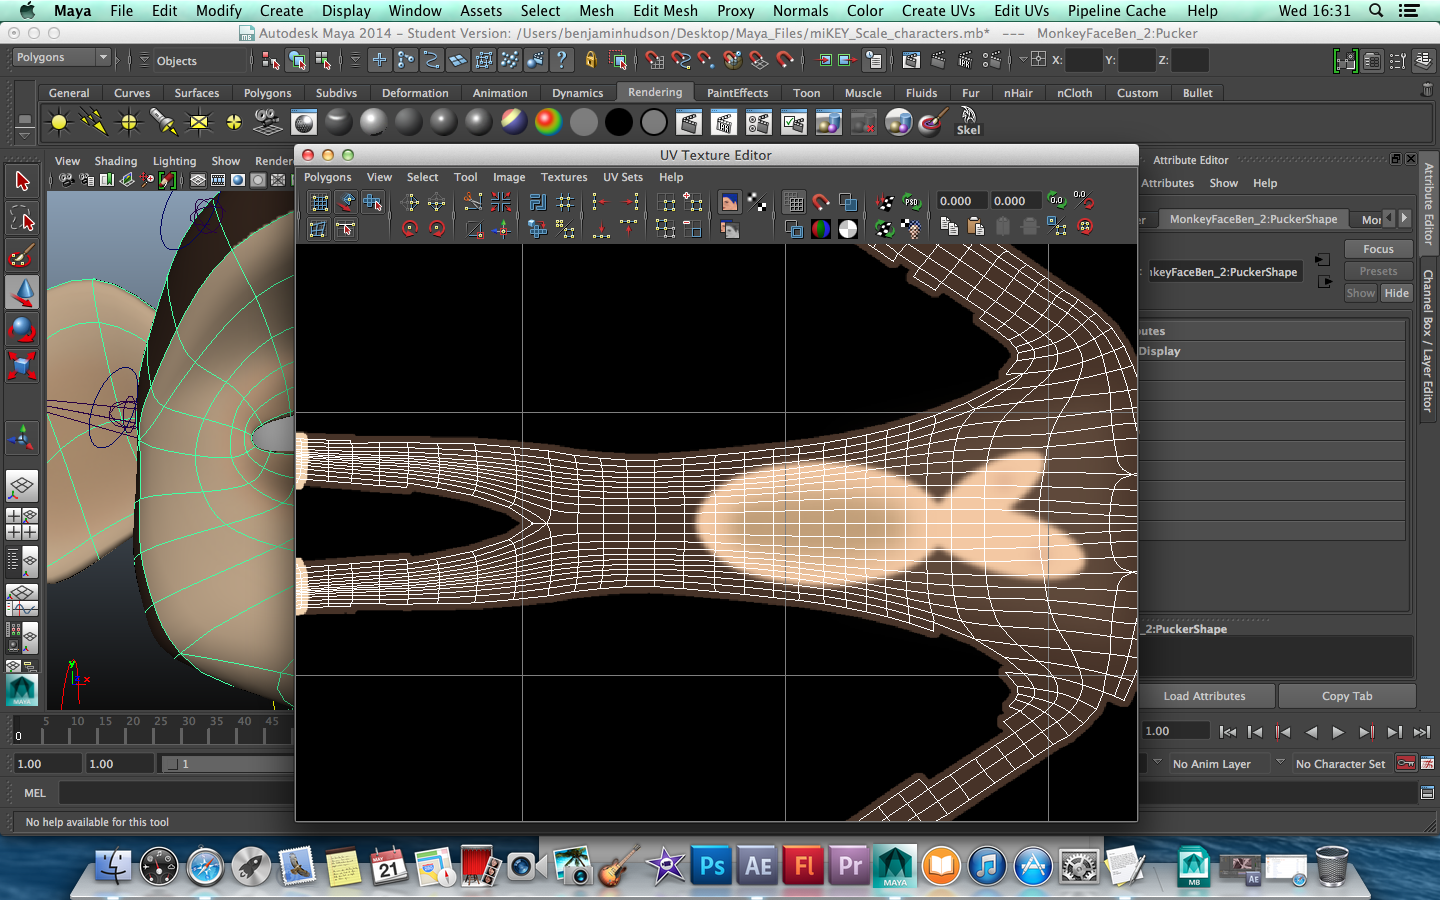
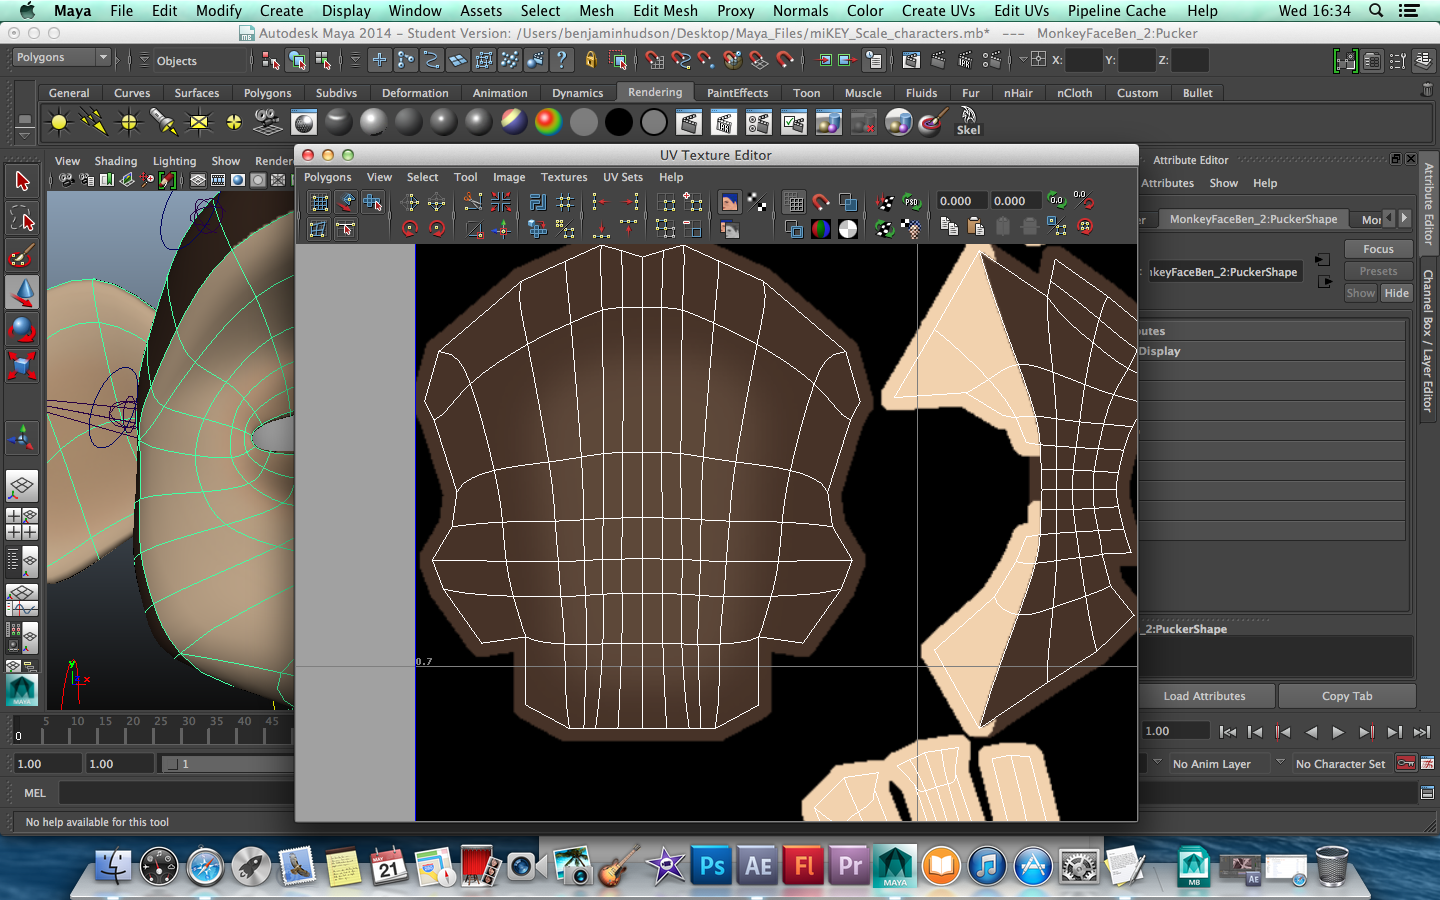
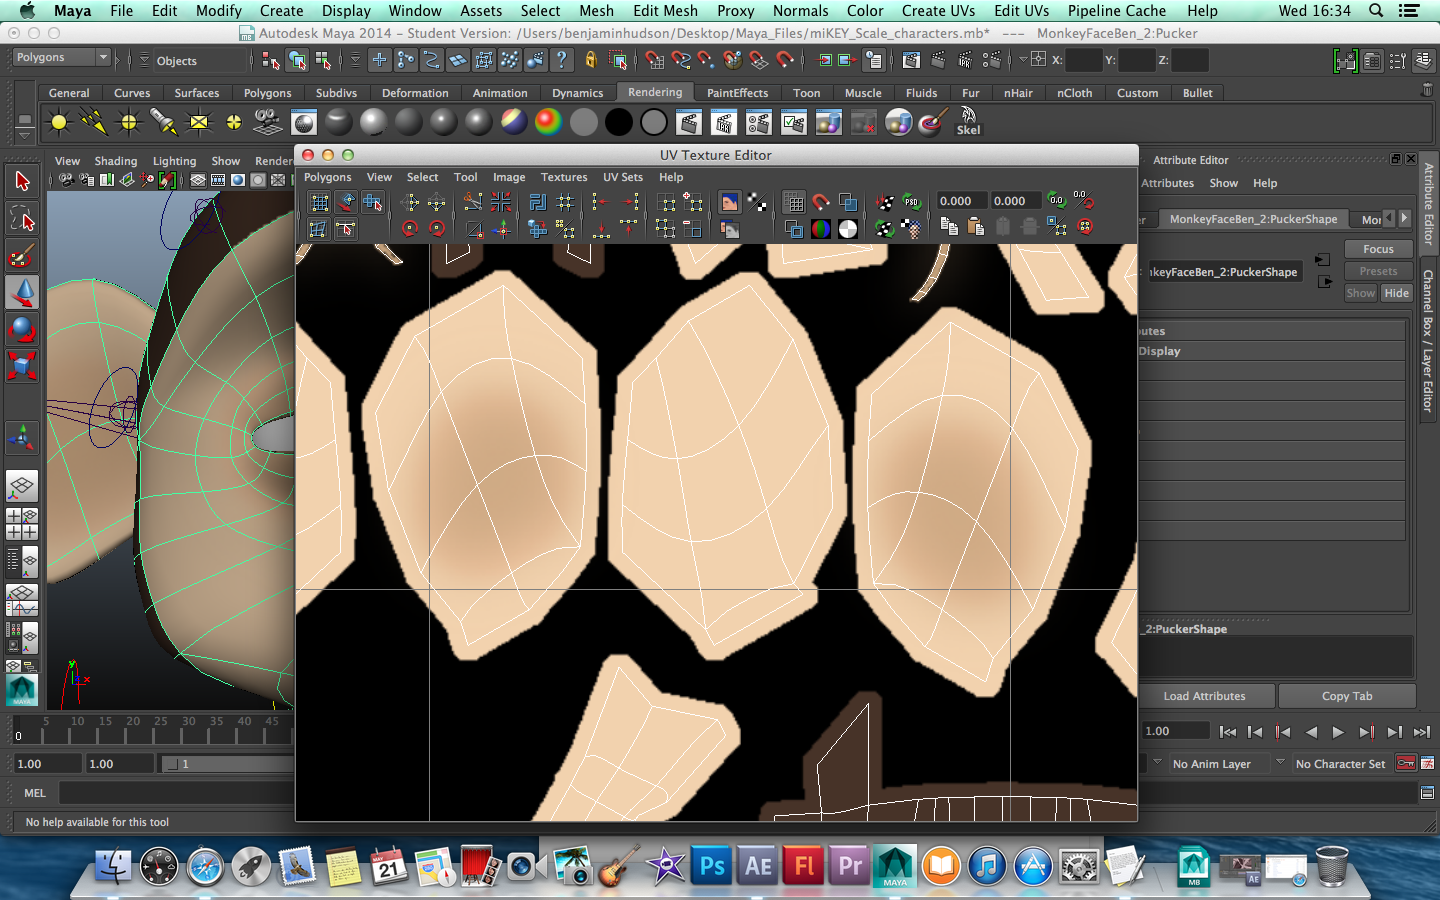
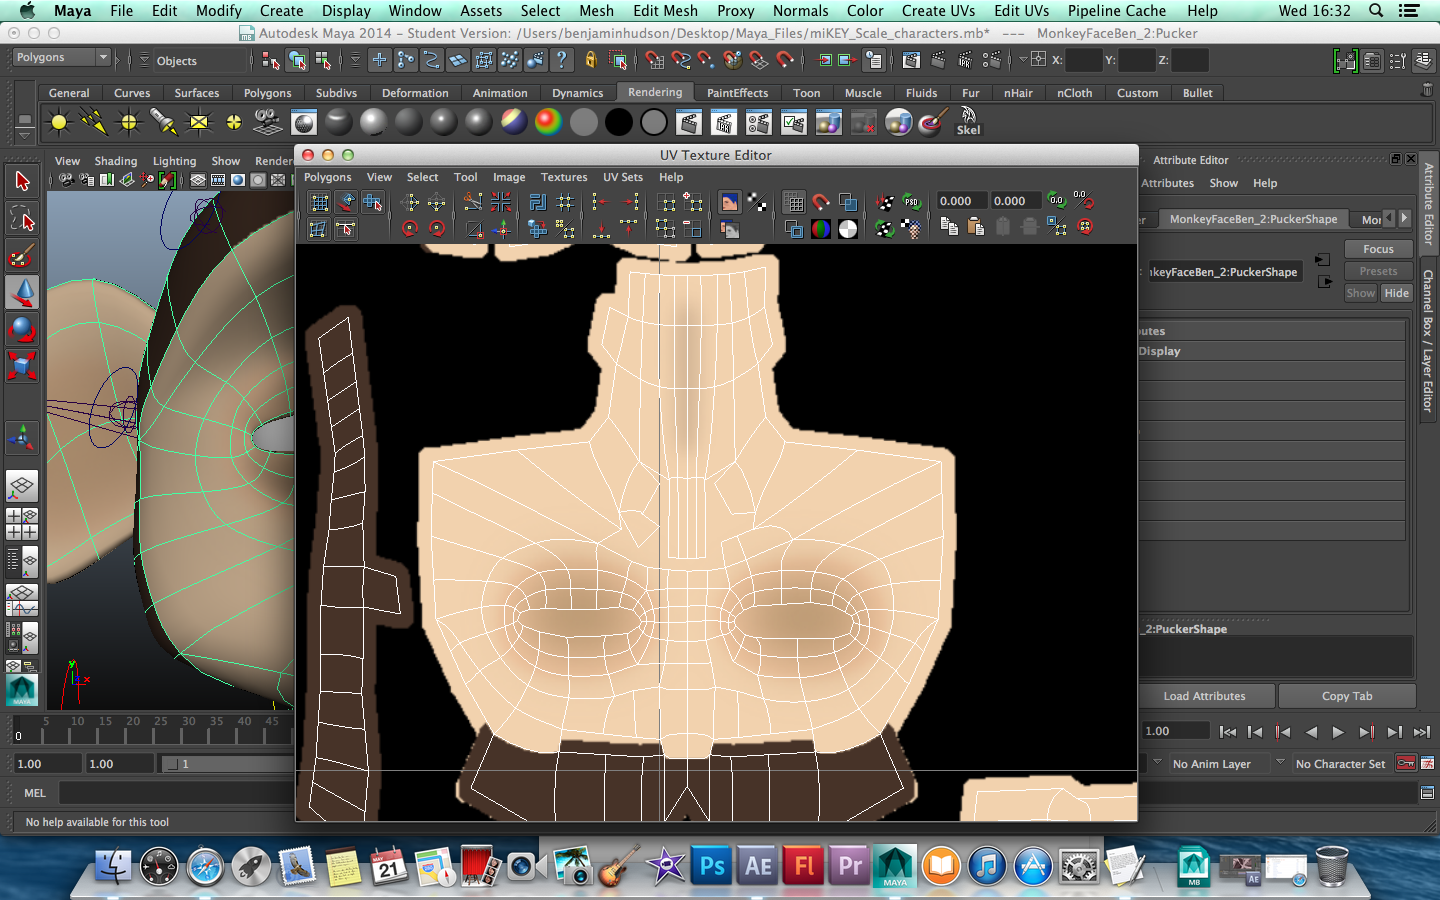
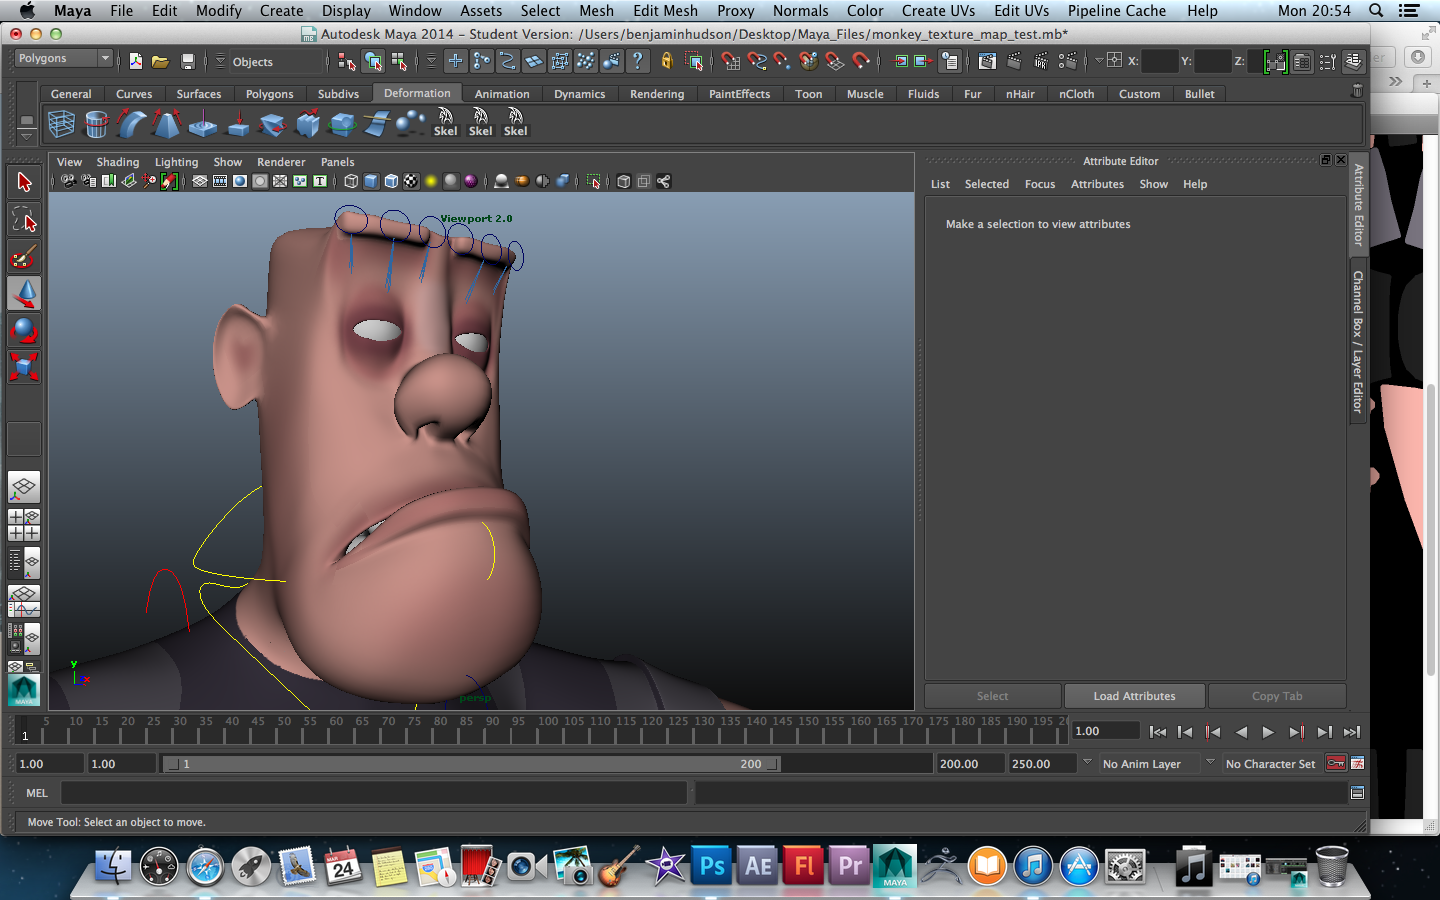
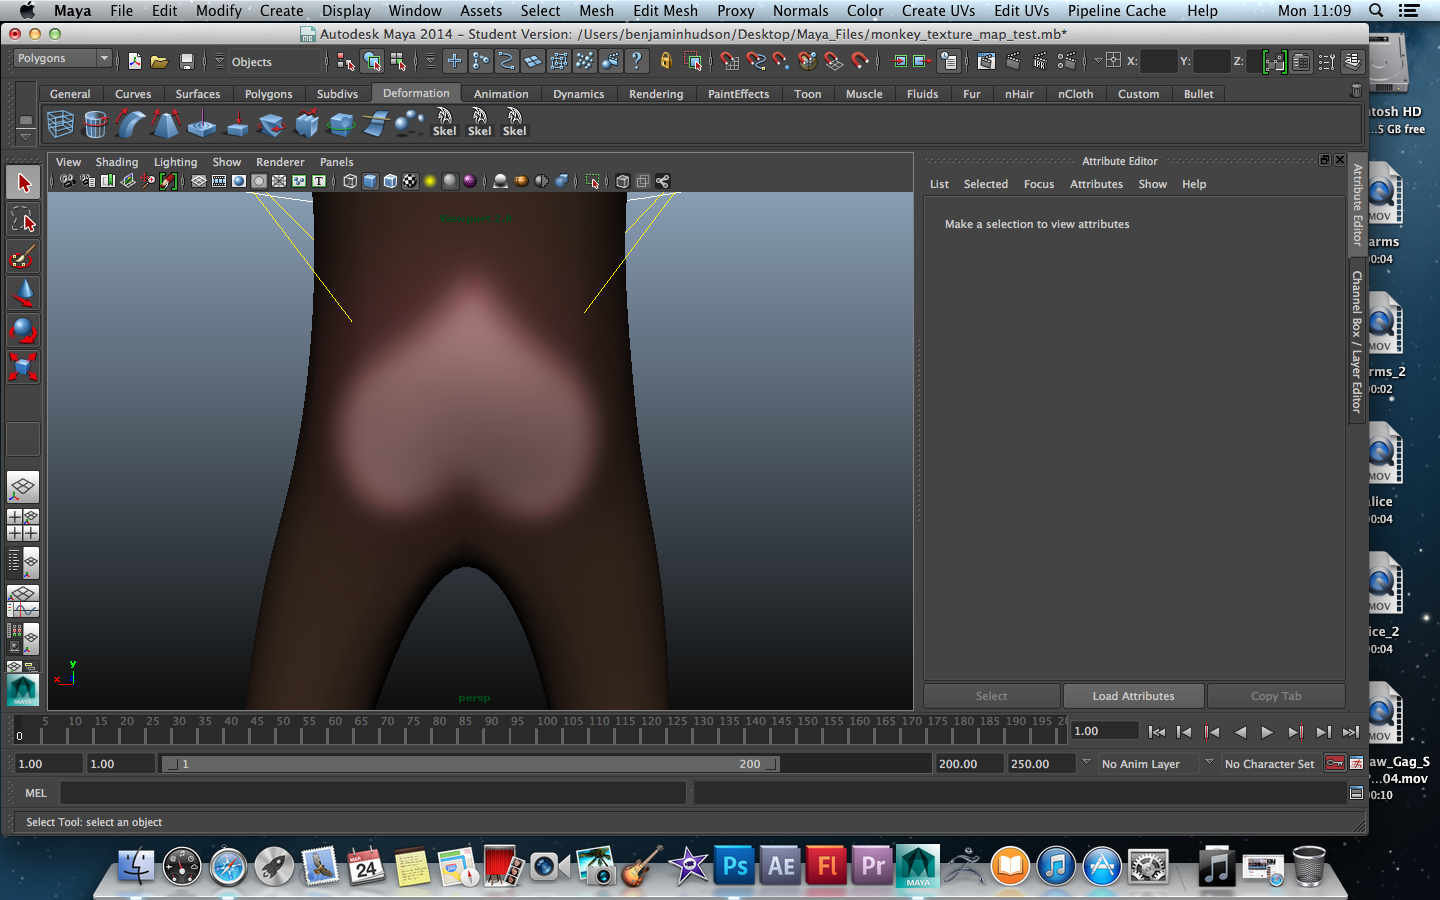
So after a couple of set backs in regards to the character texturing/UV mapping, what with animation needing to take place and this being pushed back on the agenda, it was time to get it done. And below showcases the results of that. As we have strived to recreate a cartoon style, we didn't wish to do anything too flamboyant with the character textures, other than really instill an illusion of life on them, to make the man look like a man, and the monkey look like a monkey, and really that was the ultimate essence of that, and we needed to give them a little more personality, a little more heart, and make them look a LOT more thief-like, so hopefully with the combined colours and use of snappy little light heartedness to them, I have helped to breathe some new life into these models. 


I really strived to recreate a more realistic face texture, in regards to recreating blemishes and possible heated areas of the skin, and a tired-ness under the eyes. The film takes place in the middle of the night, so it was important to us that at least one of the characters looked tired, to give the story a bigger sense of plausibility - showcasing that this guy is actually pretty exhausted to be up at this time, it really helps push that through, and we really wanted to recreate that with the textures in the skin. 


Both of them collectively together, each containing their own bit of personality, but unified within the context of the film. 


Research and Inspiration on skin texturing - Peabody & Sherman 


You can see especially in the skins of Sherman, Penny & (Mona) Lisa how such simplicity is retained in the skin texture to tie in with the metaphysics and production design of the world being visually presented, and how the aesthetics of the computer shading allow to make sure that it doesn't look at all, either dead or too plaster-scene, it's an almost, perfect vynl-esque look that really compliments and utilises other aspects of the 3d software, which for our film would be very nice to achieve.